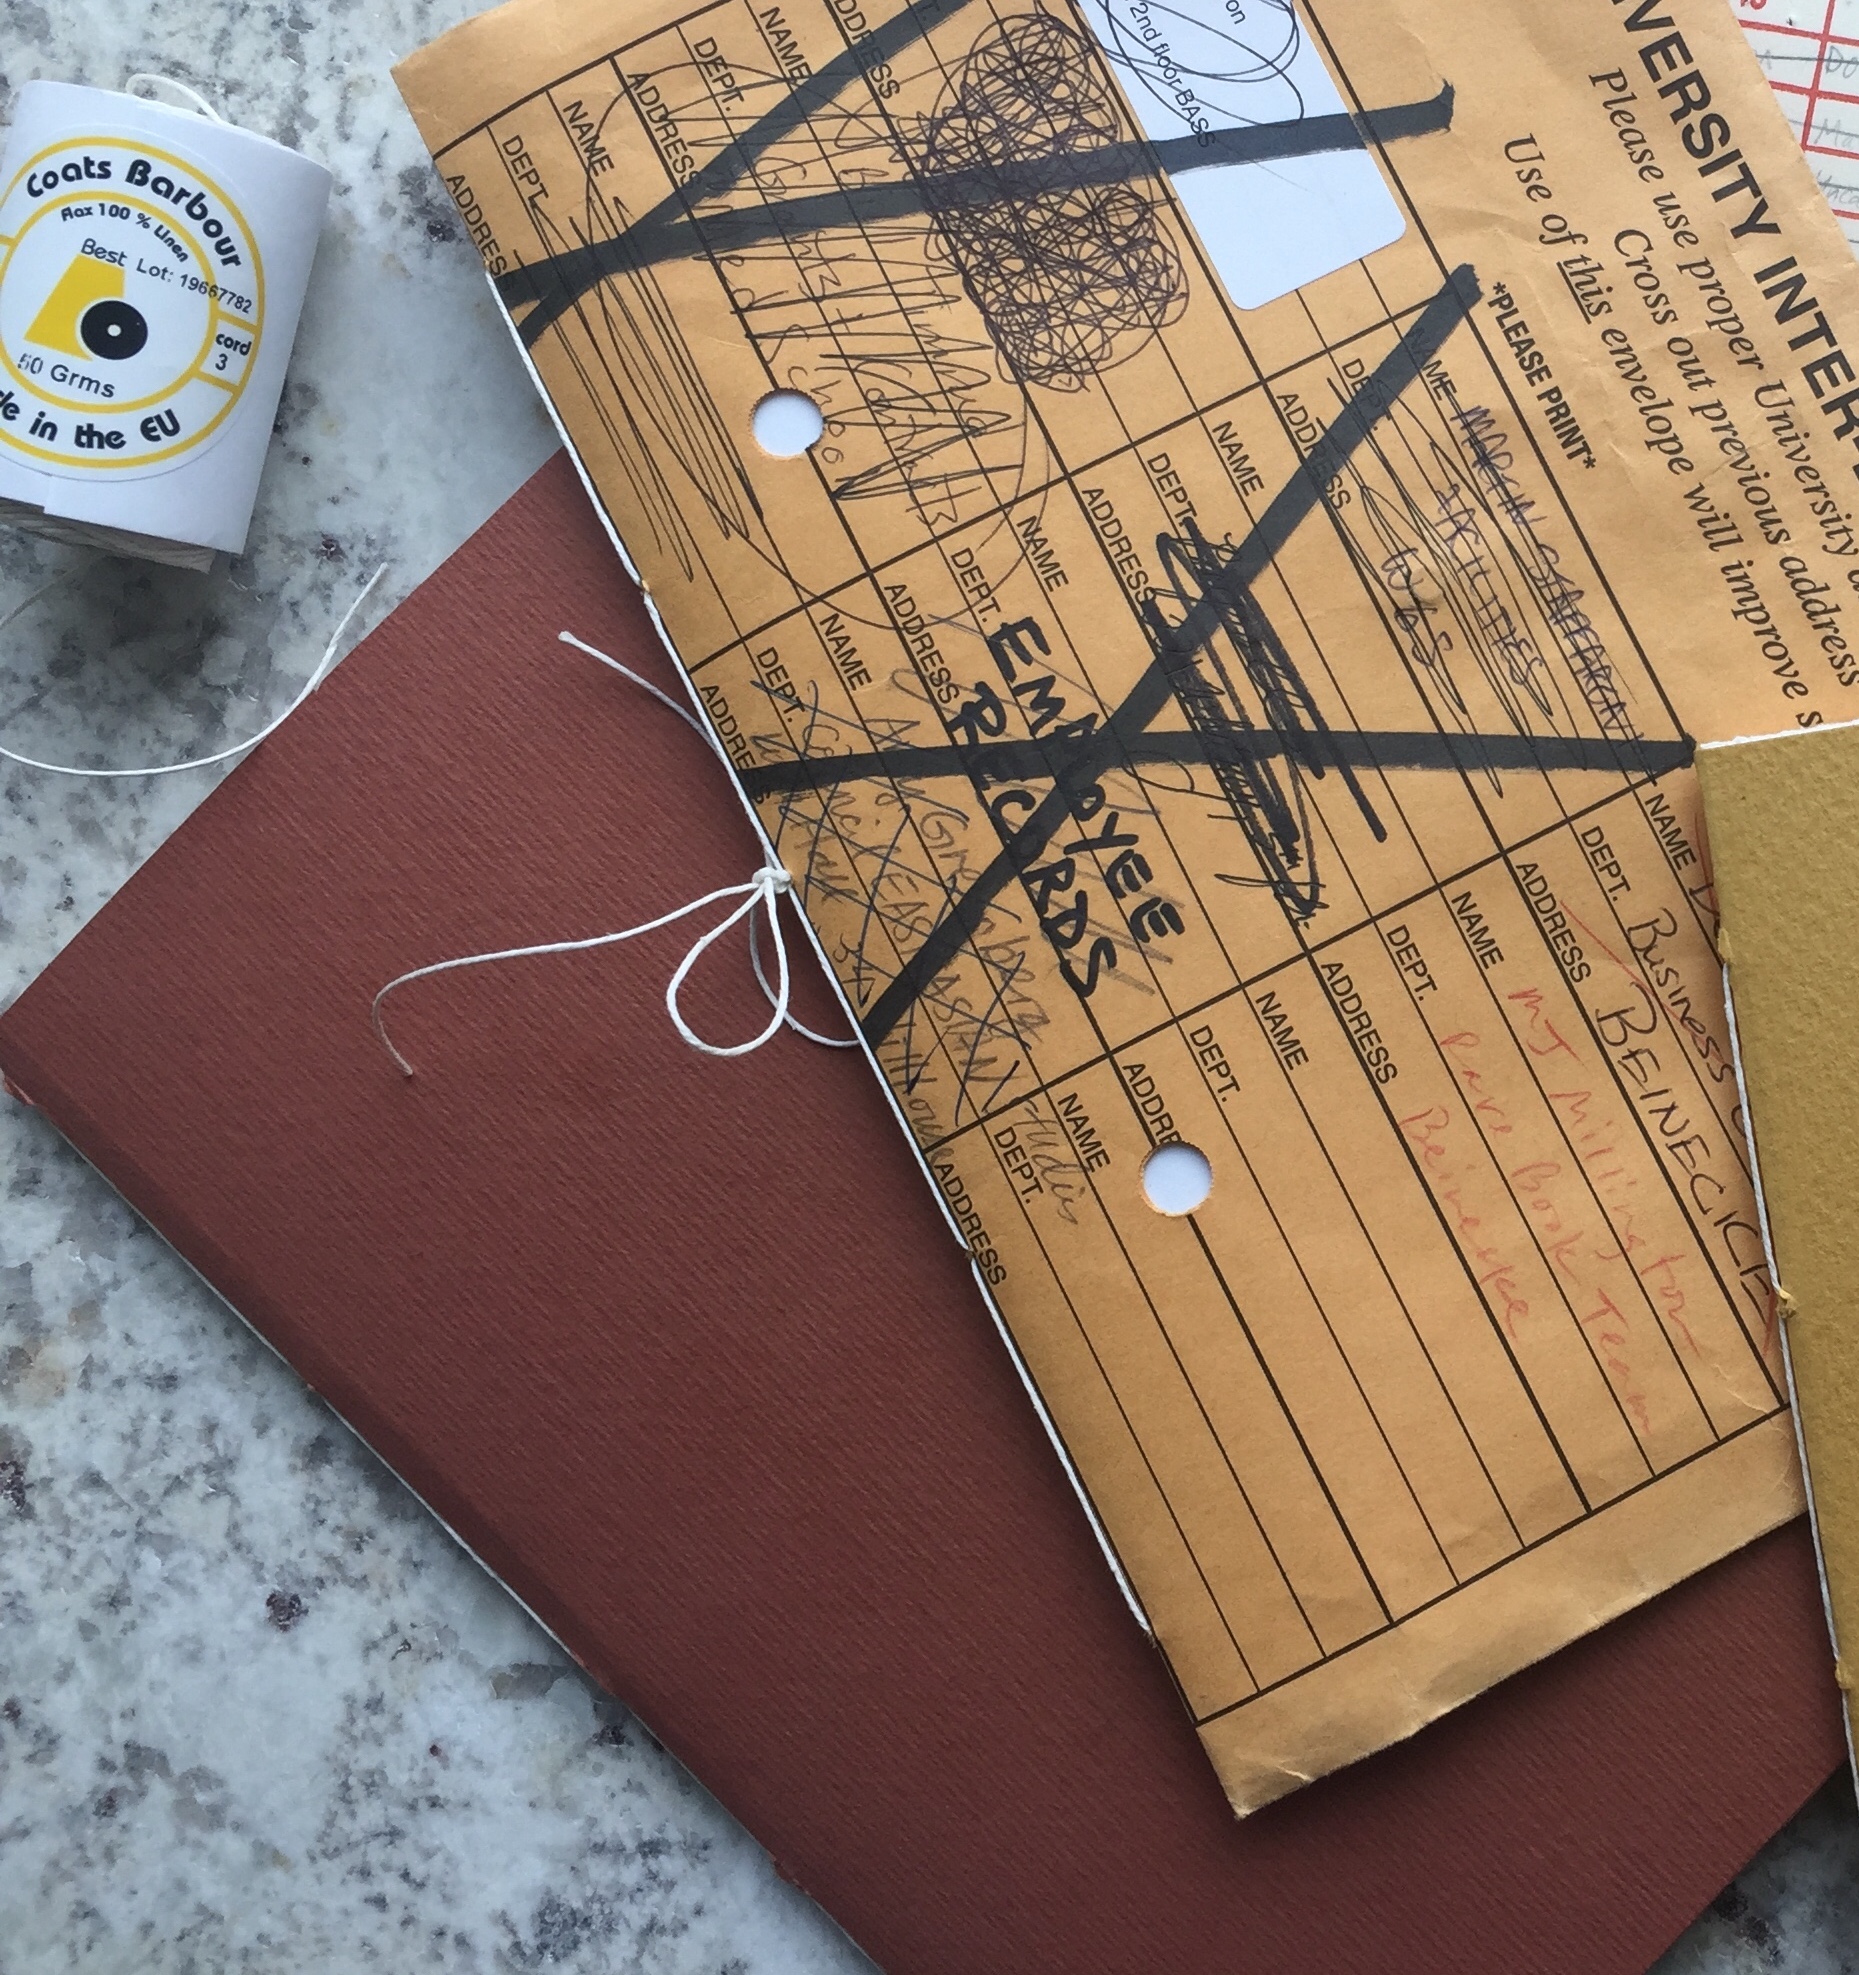
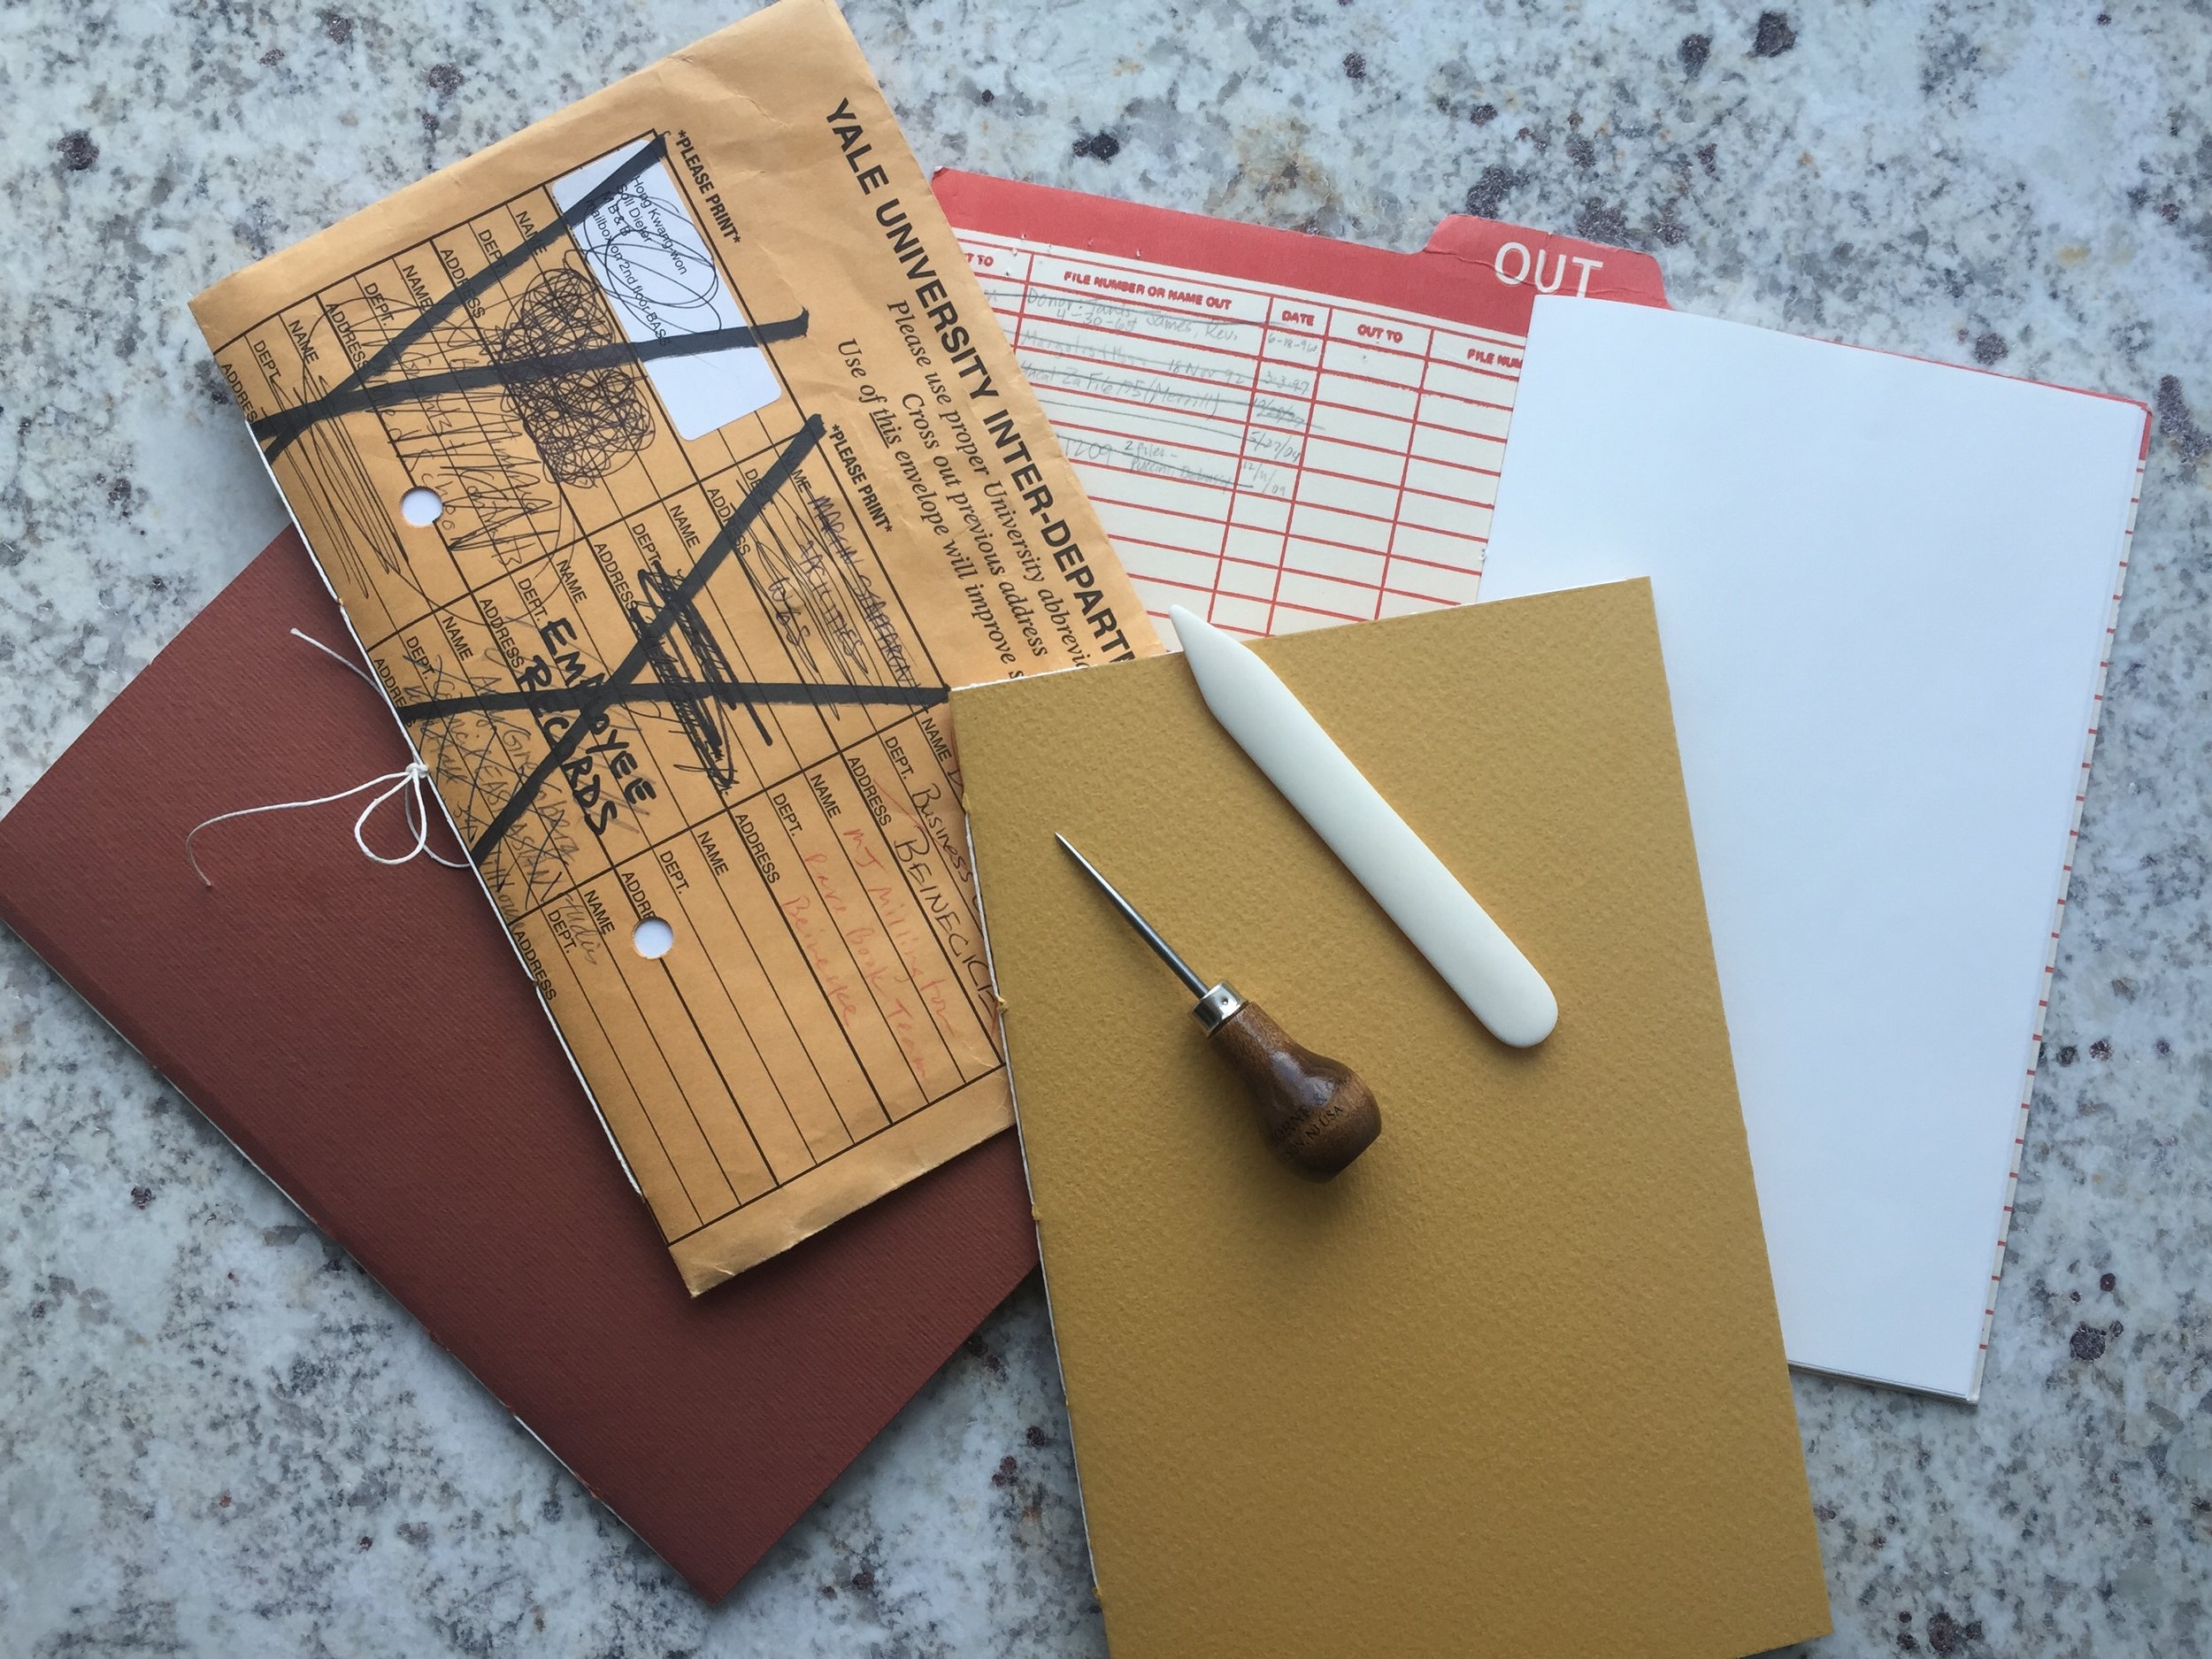
I recently had the pleasure of teaching a basic hand bookbinding class to my intrepid colleagues, on what serendipitously turned out to be National Library Workers Day. How fitting to celebrate our stewardship of books by making…more books!
Tearing down in progress.
The pamphlet binding is one of the foundational structures in bookbinding, and the signature it creates is the building block of the codex itself. Not to mention it’s jolly good-looking when you’re done; and the level of satisfaction it offers is exponential compared to the effort, like most handmade things.
There are other pamphlet stitch tutorials online, but not many of them teach you about grain direction in paper, which is paramount to creating a sound book. Commercially-made paper has what's called a “grain direction,” which is the result of the paper pulp fibers mostly aligning themselves in one direction as the paper is created. A bookbinder wants the grain direction of each element of the book to lie parallel to its spine. This allows the book to lie flat; otherwise the book will curl.
Now, let’s get to work! We’re going to be creating a signature of sheets by folding and “tearing down” one large sheet of paper. We’ll create a cover to size out of heavier paper; then we’ll sew them both together. And then hey presto! You’ll have made a book.
NB: You can sew yourself a pamphlet out of sheets of printer paper, but the grain direction is almost always perpendicular to what would be the spine, which means that your cover paper has to be cut to match. This is not ideal; but it’s better to have the two grain directions match than to have them going in different directions. Hollander’s paper and binding supply has pre-cut sheets of paper with the grain going in the correct direction, in case tearing down a larger sheet of paper doesn’t appeal to you. They also have unsewn signatures, if all you want to do is slap a cover on it and sew.
A variety of pamphlet bindings, including my "Out Card Book" and "Interdepartmental Mail Book," which has a handy pocket inside the front cover.
Five-Hole Pamphlet-Stitch Binding
Materials (All links are for Talas Bookbinding Supply in NYC. No affiliation; they’re just a good company.)
1 sheet of text paper, approx. 25” by 38”: for this example I used Mohawk Superfine
1 sheet of cover paper, of a heavier weight: for this example I used Fabriano Murillo
bonefolder
bookbinding thread: 12/3 Irish Linen, any color
needle: no. 18 Darner
scrap paper for template
pencil
Optional, but Helpful
straightedge
sewing awl
scissors
binder clip
Instructions
Determine grain direction of paper. Gently roll the shorter end inward and bounce it to test resistance; repeat on the longer end. The side that offers the least resistance—i.e., the side that rolls and bounces easiest—indicates the grain direction. In other words, if the long side of the paper offers less resistance, than the paper is “grain long.” If the opposite is true, then the paper is “grain short.”
The grain of the paper must run parallel to the spine, otherwise the book won’t lay flat. Mark the corners of your page with a line oriented in the relevant direction, which we'll call the grain marker. This will allow you to keep track of the grain as the pages shift with folding and tearing.
Fold paper in half; crease with bonefolder; tear gently along crease with sharp edge of bonefolder or paper knife. A butter knife will do in a pinch. Repeat until pages are desired size. For this example we’ll make 8 octavo-sized pages, so we’ll fold a total of four times, and tear a total of three times. At the end, make sure the grain is parallel to spine (look for your grain marker to be sure). Nest pages into a signature.
Create a template for your sewing holes. Fold a scrap piece of paper in half lengthwise. With the bottom edge of your template aligned with the bottom edge of your signature, folded edges touching, mark the height of the top edge of your signature onto the template. With the bottom edges of your template and cover paper aligned, transfer this mark to your cover paper, marking it more than once across the width of the paper, so that you can connect those marks with a straightedge. This will allow you to cut a cover that’s the same height as your signature, without numerical measuring.
Unfold the template and extend your penciled mark across the fold. Decide where you want your sewing stations to be (five for this example) and mark on the template. Re-fold template in the opposite direction, so your marks are now on the inside.
Open your signature to the center fold. Align the bottom edge of your template with the bottom edge of your signature. You can hold them together with your hand as you work, or gently clamp them together with a binder clip. Using a needle or sewing awl, poke one hole through both template and signature at each one of your marked sewing stations.
To cut cover paper to size, connect the height marks you made earlier with a ruler or straightedge. Cut carefully along the line with good, sharp scissors or a paper cutter. Decide how wide you want your folded cover flaps to be and mark that width x2, plus the width of your signature x2, onto your cover paper. Cut accordingly. [So, if the width of your signature is, for example, 5 inches, and you want your cover flaps to fold in by 2 inches on either side, then your cover paper needs to be 10 plus 4 inches long, or 14 inches total.]
Fold your cover paper in half shortwise. Align the bottom edge of your template with the bottom edge of your cover; poke holes for your sewing stations as above.
Nest your signature inside the folded cover paper. Using a piece of thread approximately 3x the length of your spine, and a needle appropriate to the thickness of the thread, sew your pages and cover together following this order:
Beginning on the inside at station 3, pull your needle through station 3 to the outside, leaving a 2-inch tail. Sew through station 4 to the inside. Sew through station 5 to the outside. Sew through station 4 to the inside. Sew through station 2 to the outside. Sew through station 1 to the inside. Sew through station 2 to the outside. Sew through station 3 to the inside. Knot the two ends of thread around the long stitch in the center.
To make cover flaps: with point of your bonefolder, score cover paper approximately 1/16” beyond the signature on both front and back. Fold cover paper to the inside and crease with bonefolder.
And that's it! You made a book!


